m2c microscopy measurement & calibration

Beschreibung
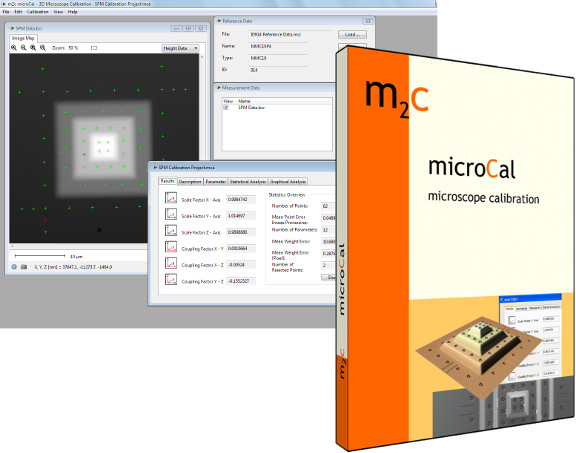
m2c calibration software microCal is developed especially for an automated and easy 3D calibration with m2c calibration structures. By using a marker based calibration technology, it provides improved measurement accuracy and has the following advantages:
- One Step: Simultaneous processing of lateral and vertical calibration parameters (scale, shear)
- One Model: Determination of coupling (shear) between vertical and lateral axes
- One Click: Due to advanced image processing and statistical methods, calibration is extremely efficient and accurate
- One Reference: Software and calibration structures are suitable for different measurement devices
Spezifikationen
microCal calculates 6 linear calibration parameters: three scale factors for the co-ordinate axes, and three coupling factors for coupling between all co-ordinate axes (orthogonal deviation). In addition, it provides tools for 3D data manipulation, especially for 3D data correction based on the calibration results.
- Automated calibration due to advanced image processing algorithms, including detection of sample orientation and sub-pixel co-ordinate measurement
- Reliable processing of calibration parameters due to advanced statistical methods (including leastsquares methods and outlier detection)
- Mathematical and graphical accuracy analysis
- Results and settings are saved into a project file
- Integrated export functions for PDF protocol files or for ASCII data (for further use)
- Calibration parameters are saved for data correction of all further measurements performed by the customer’s microscope
- 3D data manipulation and correction
- Different SPM/3D file formats and import filters for ASCII and image data files are included
